
If you want to build one yourself, see my previous post which has links to the plans I used. Jon pointed out that the link didn't pull up the actual plans, so I've fixed that now. The ladder is removeable. I put it in the closet during the day so Scarlett can't sneak up to the top.
Top view. Savy loves having a queen-size bed...plenty of room for her favorite stuffed animals to sleep with her. I made it a bit bigger than I needed so there are a few inches extra on each side of the mattress. I'm very glad I did that...it makes putting the fitted bottom sheet on a LOT easier.

This is the surprise I was waiting for.

You can't really see it in the photo because it's so bright, but this little chandelier is sooooo cute and perfect for her little playhouse area under the bed. Scarlett inherited Savy's twin bed and absolutely loves sleeping in it now. We were going to put the toddler bed in the attic, but Savannah said she wanted it in her room. She calls it her "morning bed", whatever that means. I threw some pillows on it so she can use it like a daybed/sofa, and I'm going to take that guardrail off.

There's plenty of space to display her favorite toys.
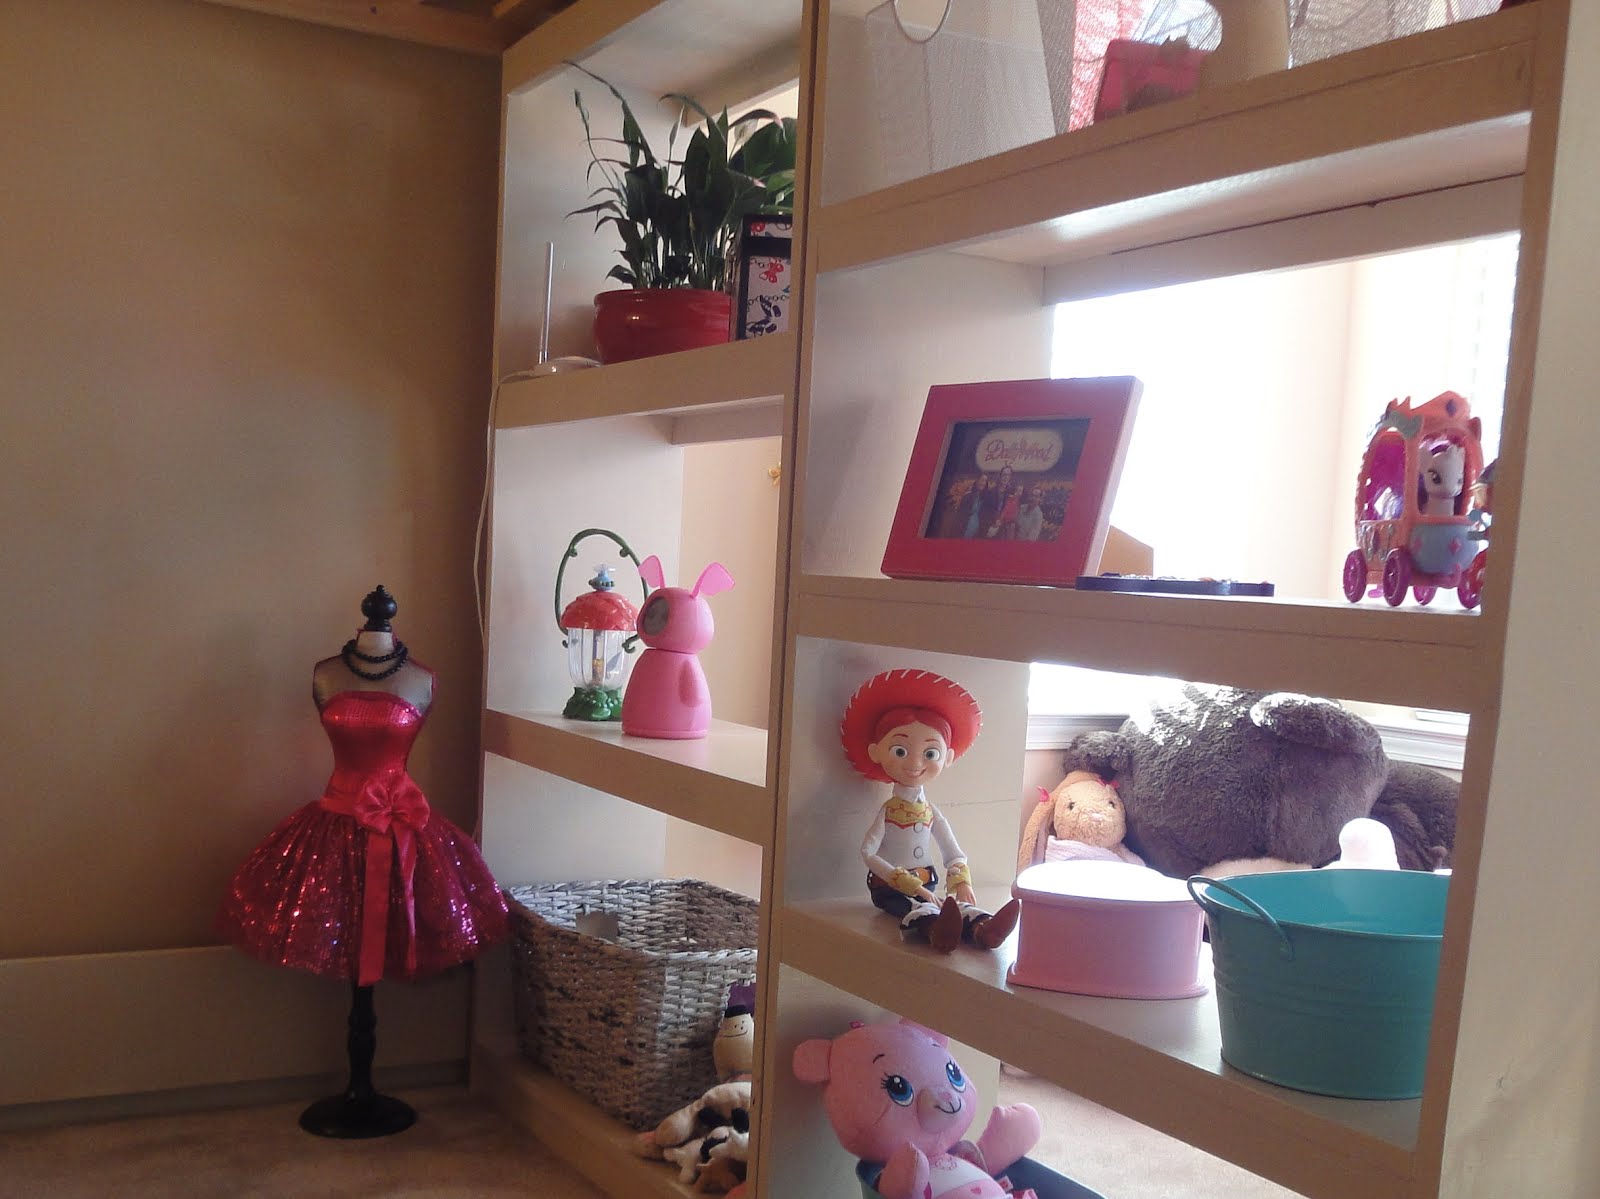
There's a nice little playspace by the windows now. I'm not sure yet what to do with this space yet. For now, it's just a place to throw stuffed animals.....

Savannah's fairy door is still there....we're just waiting for her to get a loose tooth so the Tooth Fairy will come back.

The room feels so much bigger now, and Savy loves it. I'm so glad to be done with that project!

11 comments:
What a beautiful room for a little girl. You are so talented, Christy.ndayno
I have never built anything in my life.. I have been begging my husband to build a queen loft for our 4 year old son for 2 years now; so I am going to attempt this build on my own. I was wondering if you had the exact measurements on all the materials and cut list for your daughters beautiful queen loft bed??
I followed the plans and just made a few adjustments. Here's the link to the plans
http://aboutpearl.blogspot.com/2012/02/savannahs-room-continued.html
The changes I made were:
End planks cut to 63"
Top back guard and front and back rails cut to 87"
The top guard rails on ends cut to 66"
I measured for the mattress supports and the front guard rail after the rest was completed.
You should also measure for the bookcases after the rest is completed, but each of mine wound up being about 31" wide.
Everthing else was pretty much the same.
Hope that helps.
oops, that was the wrong link. Try this one
http://ana-white.com/2010/05/furniture-plans-loft-bed.html
Thank you so much! I hope my son's loft bed turns out as nice as yours. And again thank you for giving me your measurements!
I'm 32 years old and living with a husband and toddler son in a very small house. I'm really interested in a loft bed for us, so we can take better advantage of our bedroom space. How sturdy would this be for two grown-ups? And stuff? :)
I'd make modifications to the mattress supports for adults or teens. The ones I used are 1x2's and 2x2's, but my daughter is only 6 years old. Anawhite.com has many plans for adult beds...I'd just use one of those to get ideas for the mattress supports. I have been on the bed with no problems, but I'm careful not to "flop down." I used L-brackets to secure two of the legs to studs in the wall so there's no risk of the bed moving or toppling over.
Hi there. I found your page through Ana's blog and I LOVE the queen bed idea. I have everything needed to get this done, but it seems her link for bookcase is no longer there. Do you happen to have it on hand at all? I really want to build your version of it. :)
The link is "What Goes Under The Loft Bed?"
http://ana-white.com/2010/06/plans/what-goes-under-loft-bed-how-about-big-bookcase
Hi! I am in the middle of working on my Queen loft as well. I was wondering a few things if you could help: One, on her sight, it says that we would need a circular saw - so how did you make the angled cuts 75degrees at top ladder and 15 degrees at bottom with circular saw? Also, did you adjust the measurement from top to accommodate the queen mattress width or were the plans still adequate (from top side rail to bottom of the side rail)
I used a miter saw for the angled cuts. I did not modify the side rails - the measurements are the same as in the plans. There is no box spring under the mattress, though...it's just a mattress. If you plan to use a box spring, you'll need to increase the height of the rails.
Post a Comment